Merge photos to a panorama
Four photos captured on freehand are merged into a panorama with Adobe Bridge and Adobe Photoshop.Best practice is to always use a tripod for landscape photo. But photos taken without a tripod can be merged to a panorama with good result, if shot with a steady hand. Photoshop CC in 2020 blends images together, removes vignette, corrects geometric distortion and fill transparent areas. During a visit to a beach south of Chennai, my Nikon D700 was used to shoot a series of photos to cover the beach scene.
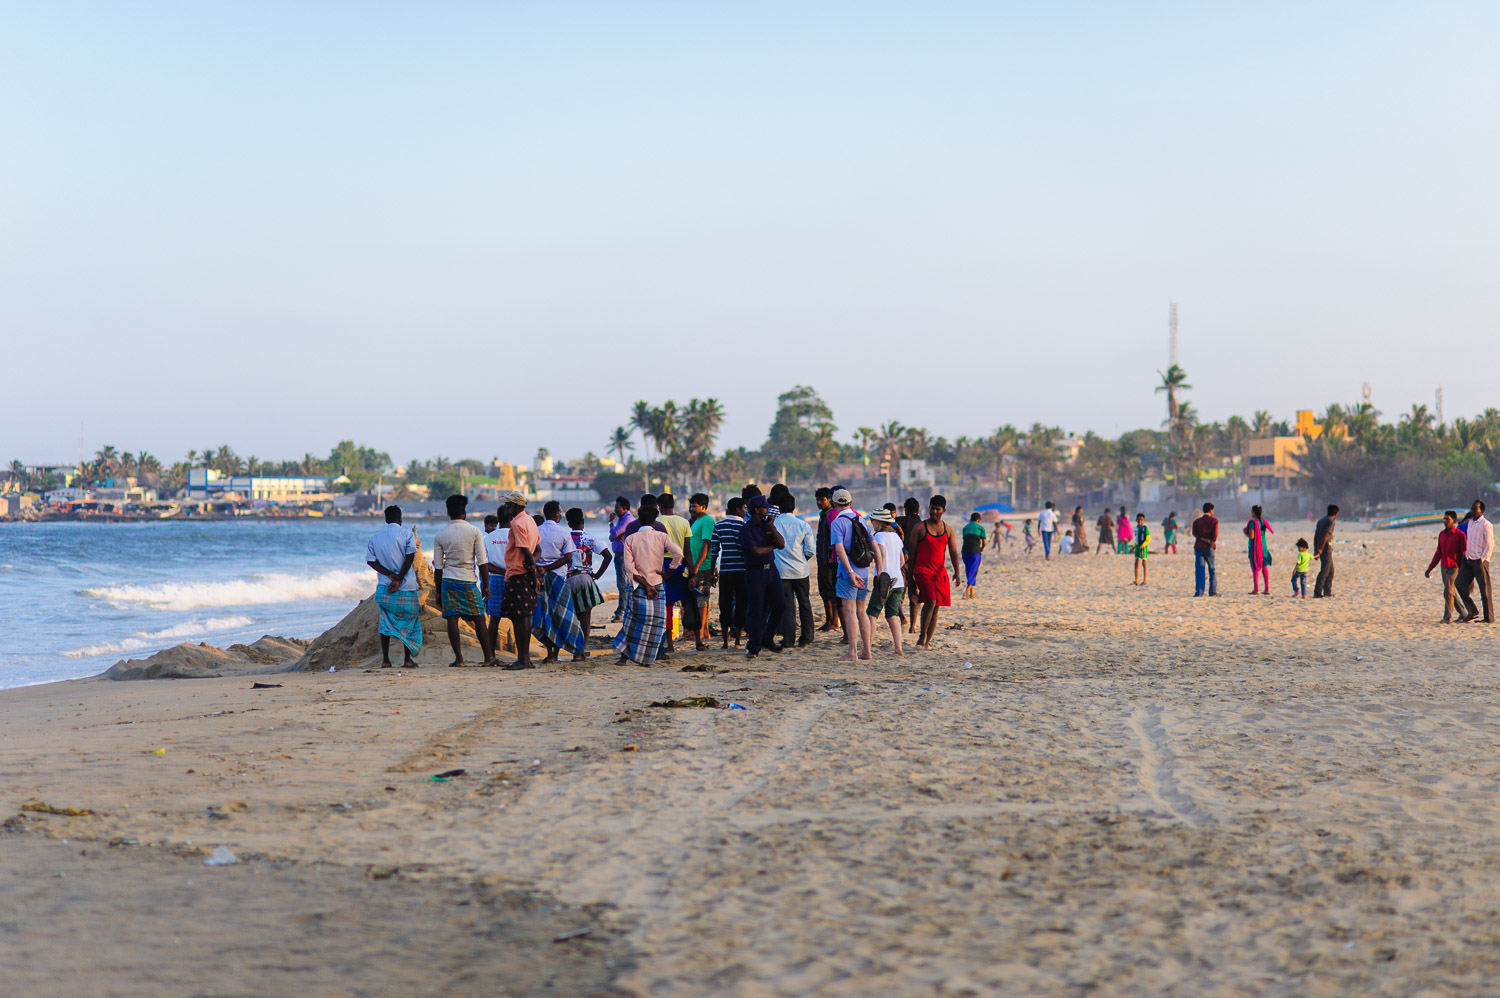
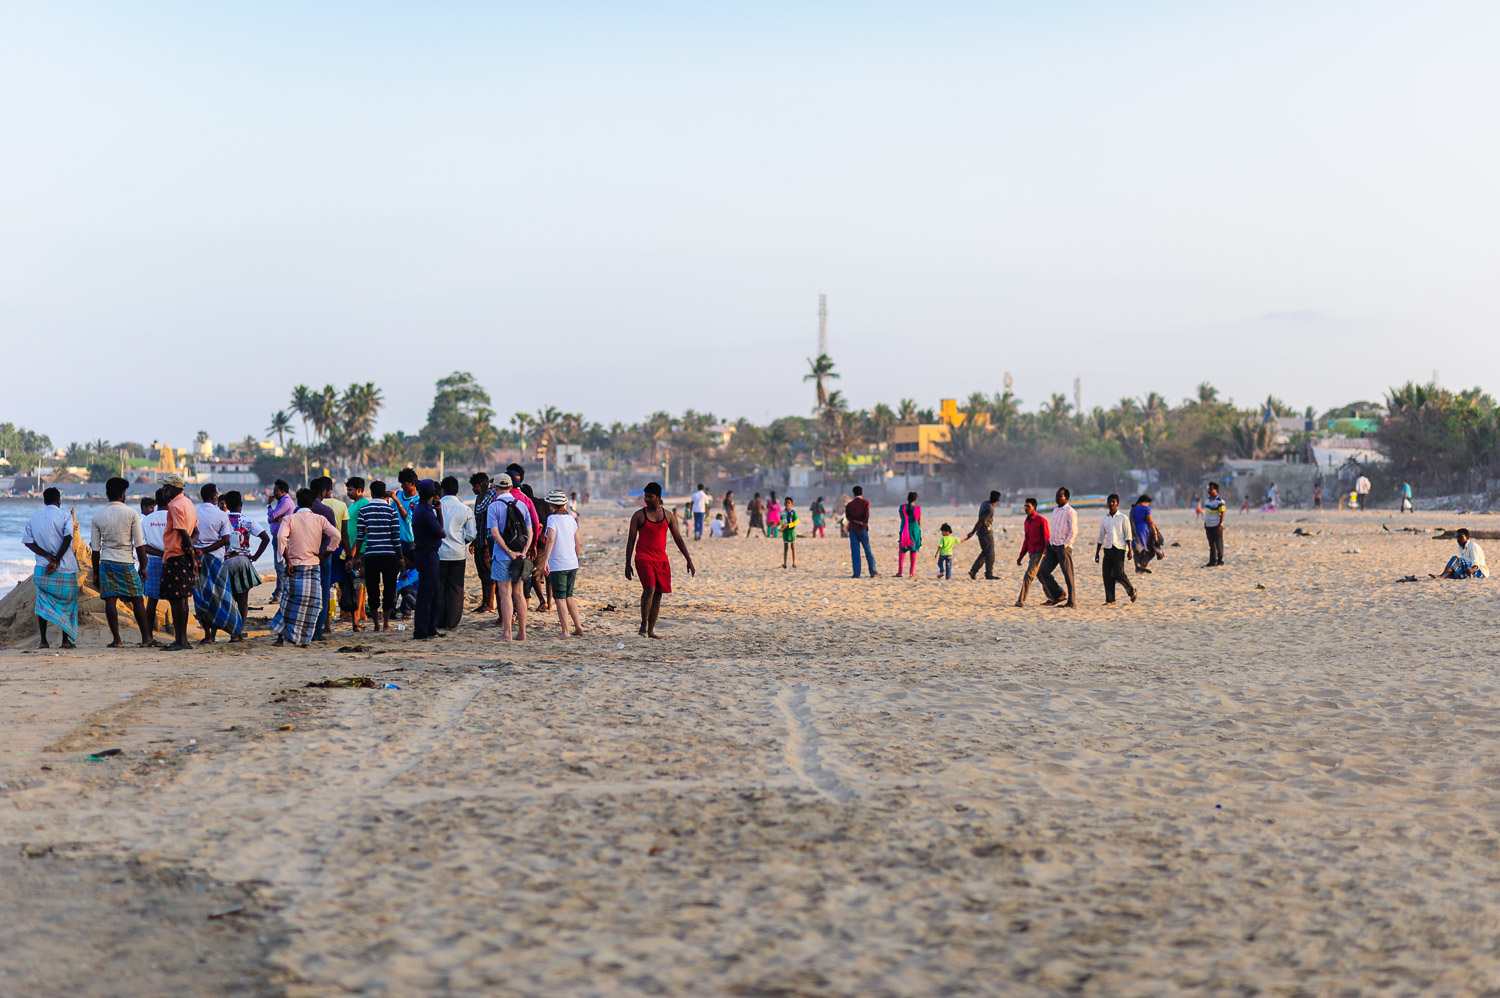
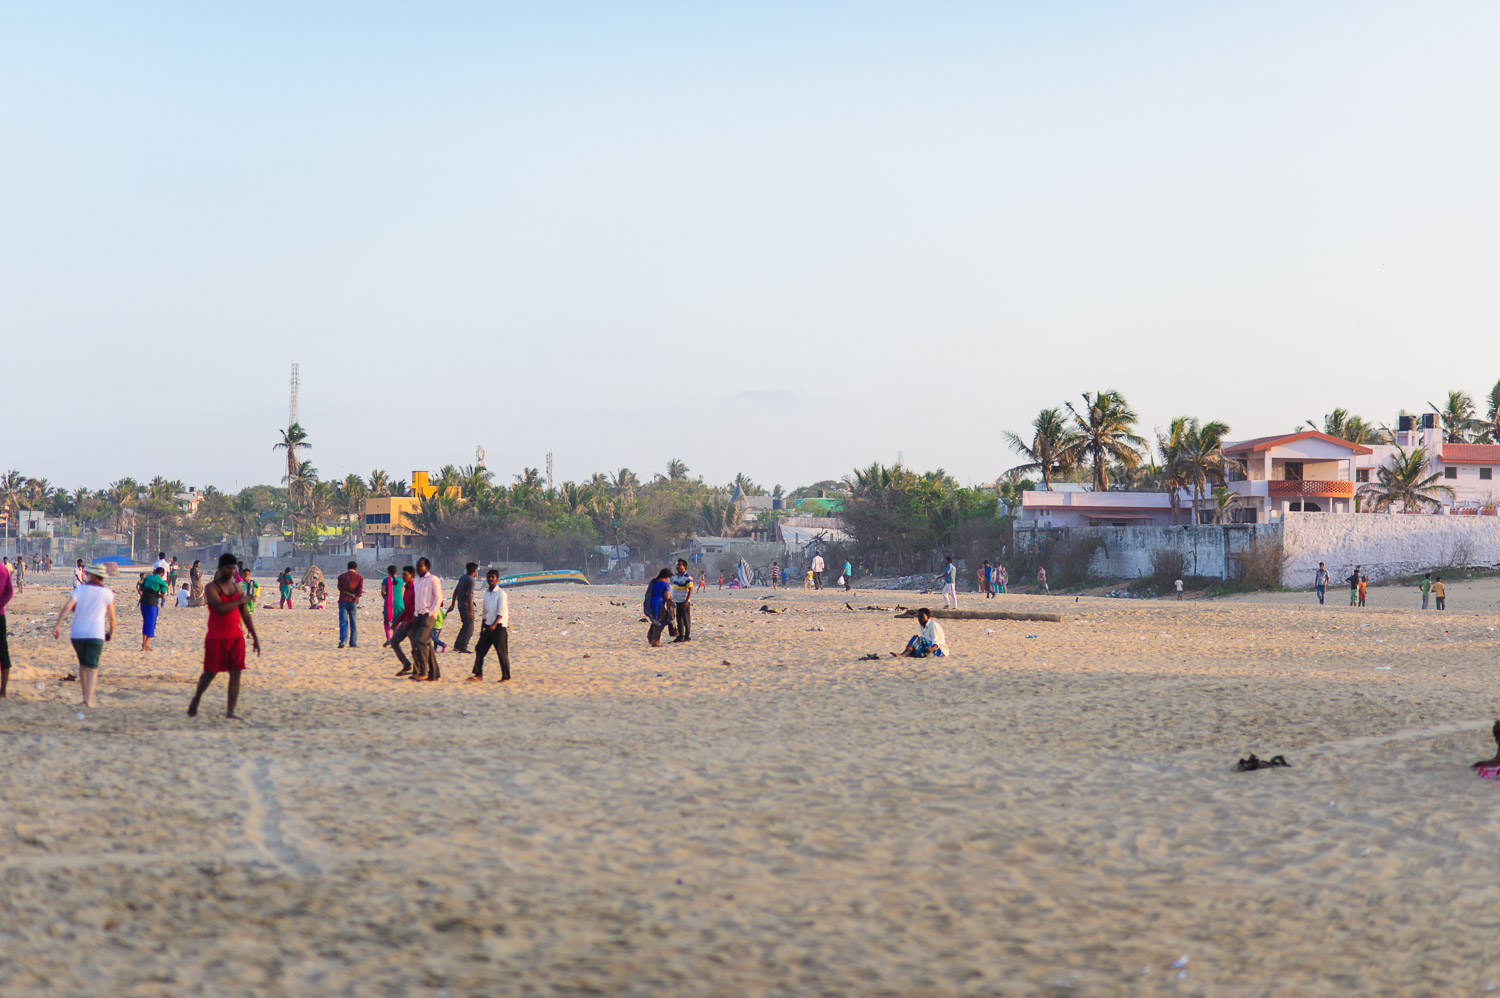
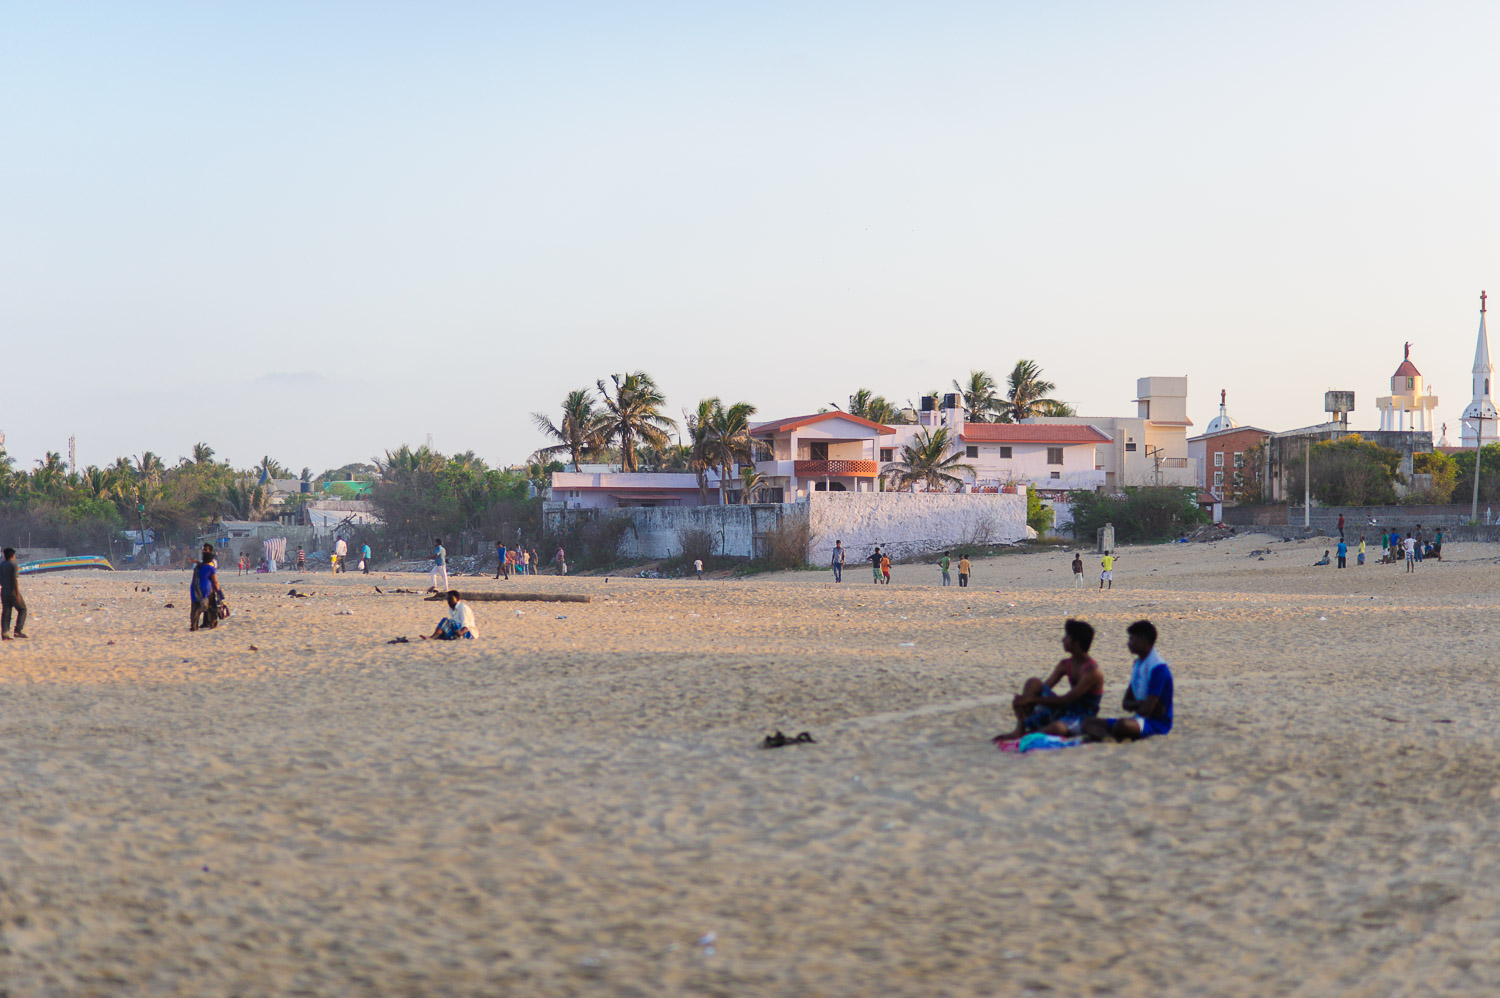
Six photos were shot from left to right across the beach. Nikon D700 and Nikkor 85mm F 1.8. All images with aperture f2 and 1/2000 second, f2 was selected for a background out of focus. Focus is set to manual for equal depth of field for all photos. Develope setting must be the same on all photos.
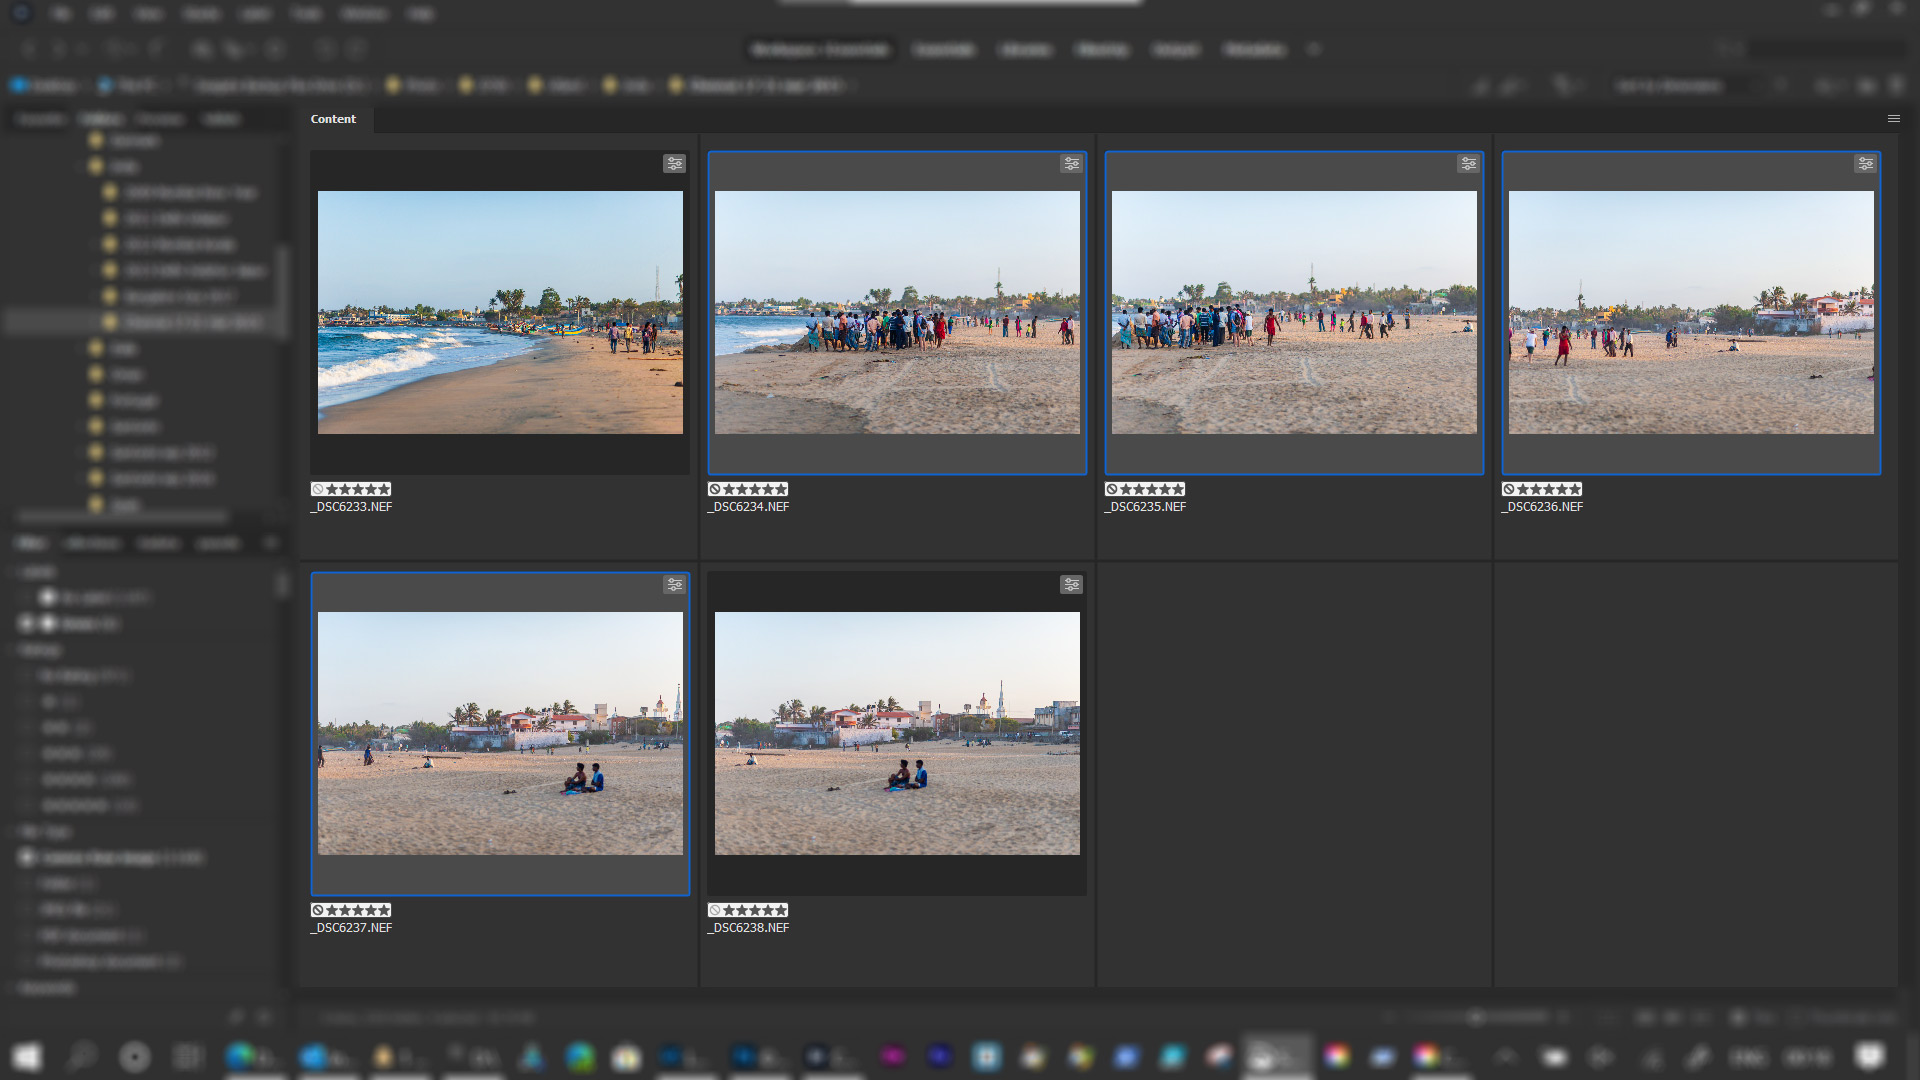
Four photos were selected to merge in Photoshop.
Step 1
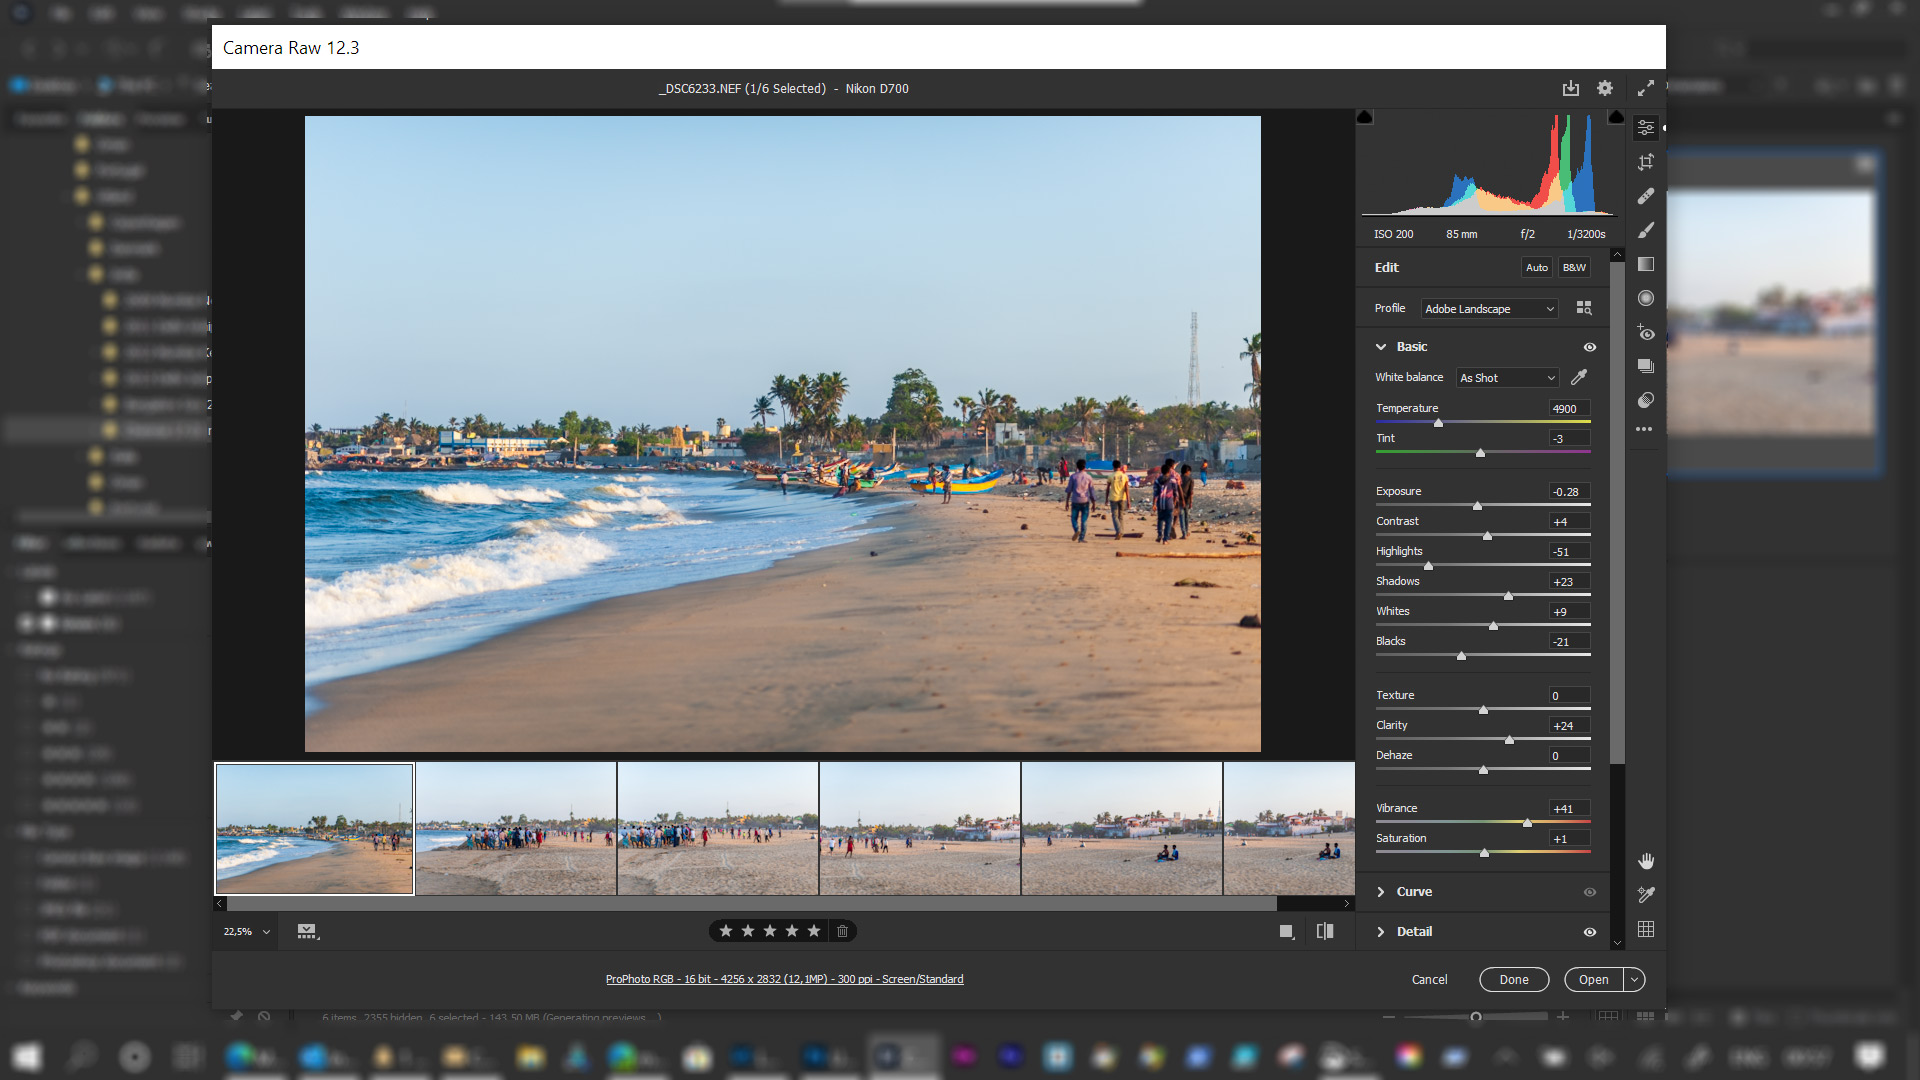
It is important to have color, contrast, sharpness and all settings equal on all four images before merging into a panorama image.
Step 2
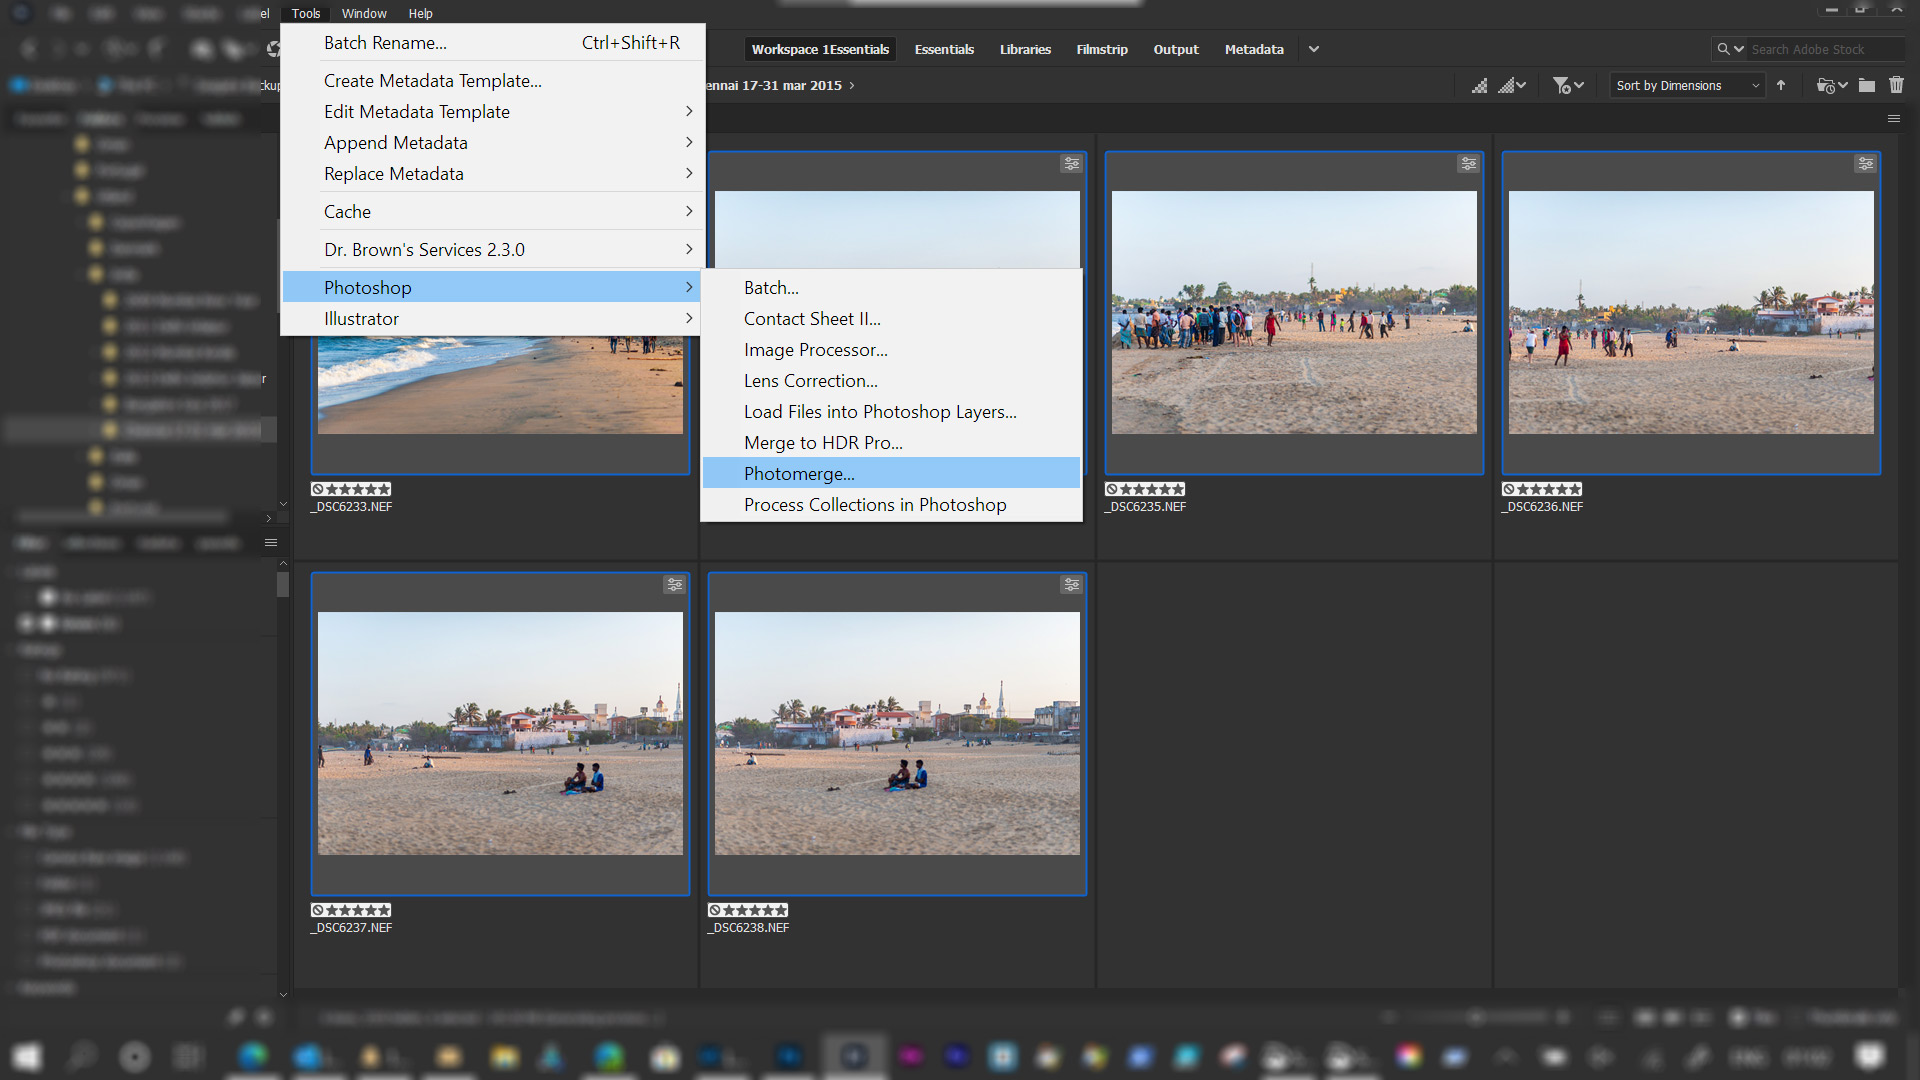
Select photos and if you are using Adobe Bridge, click on Tools and select Photoshop>Photomerge…
In Lightroom Classic select photos and Edit in>Merge to Panorama in Photoshop.
Step 3
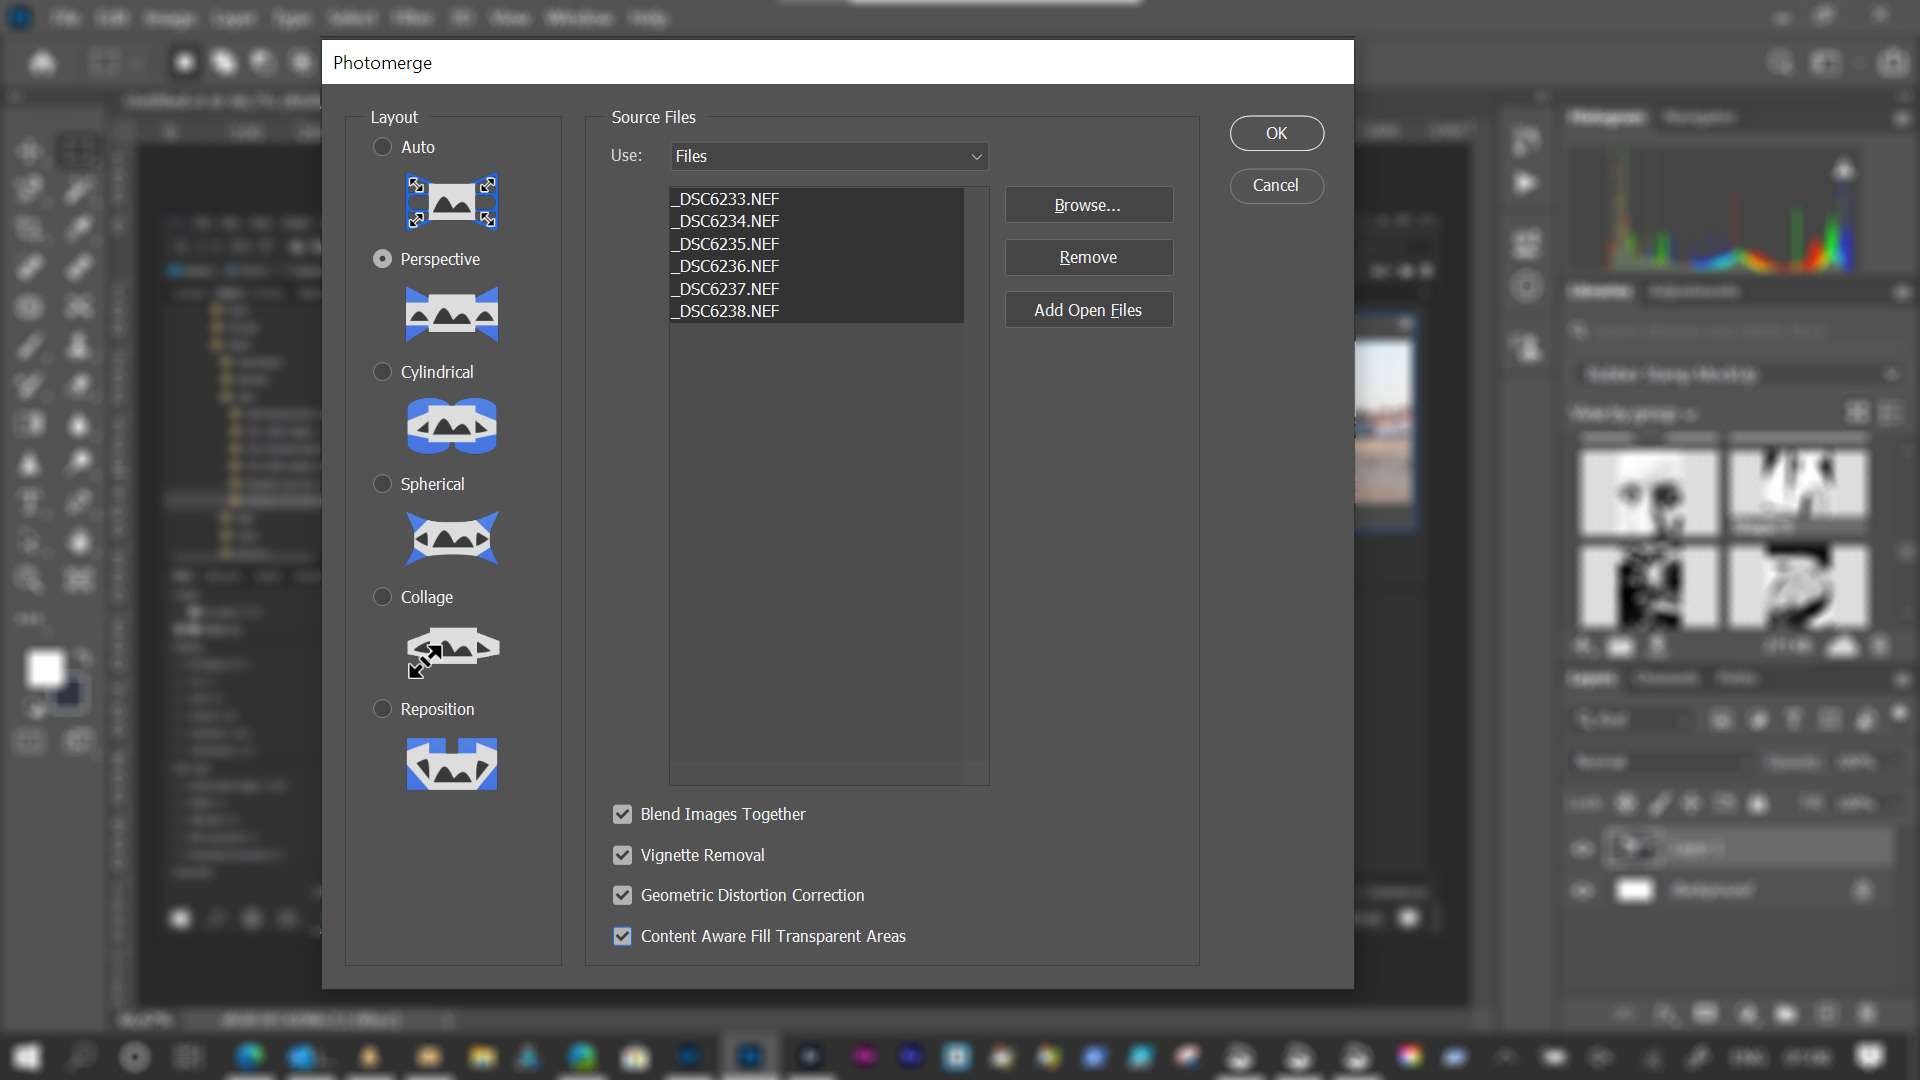
In the Photomerge Window select Perspective. Select files. Select Blend Images Together, Vignette Removal, Geometric Distorsion Correction and Content Aware Fill Transparent Areas.
Click on OK button.
Step 4
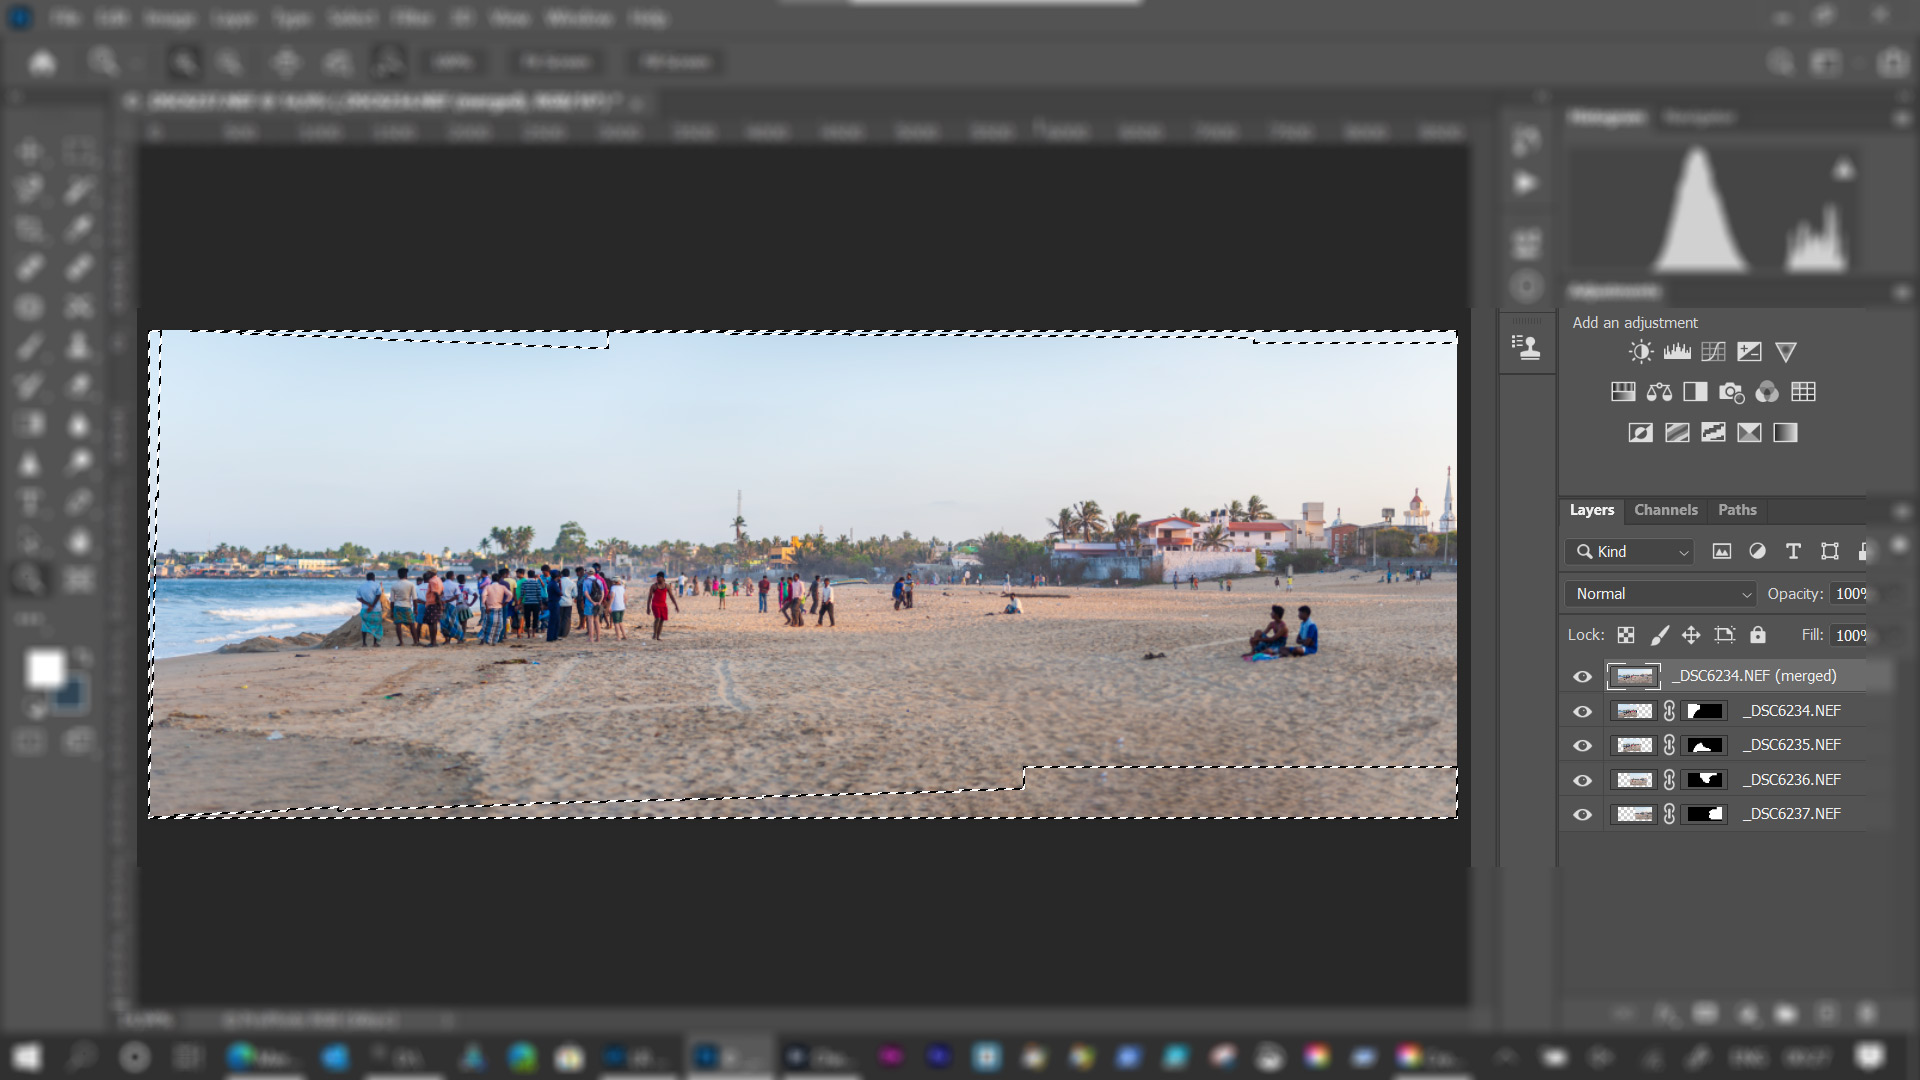
Merged file is shown in Photoshop. Flatten image and save with a new name.
Step 5
Use crop tool to adjust height and with.
Step 6
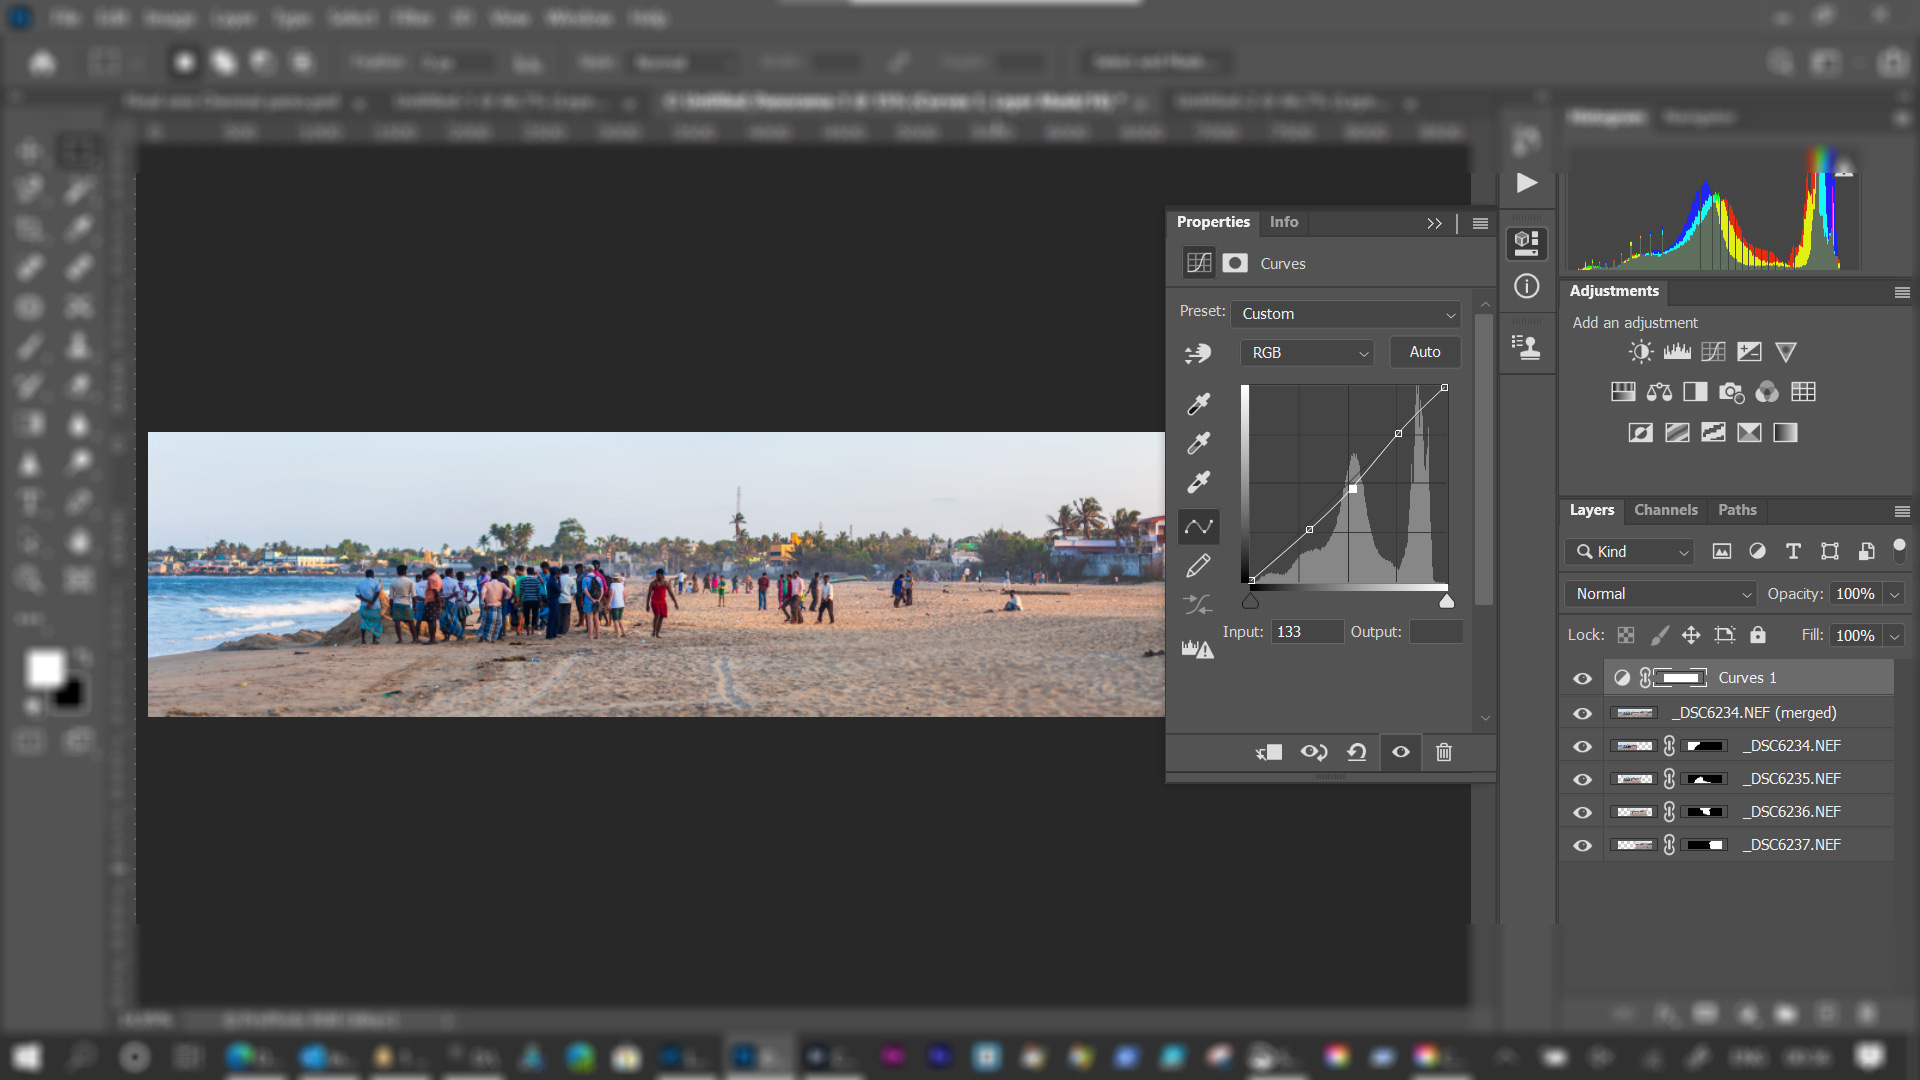
Add additonal adjutments in Photoshop before export to a suitable web size.
Using Lightroom Classic only
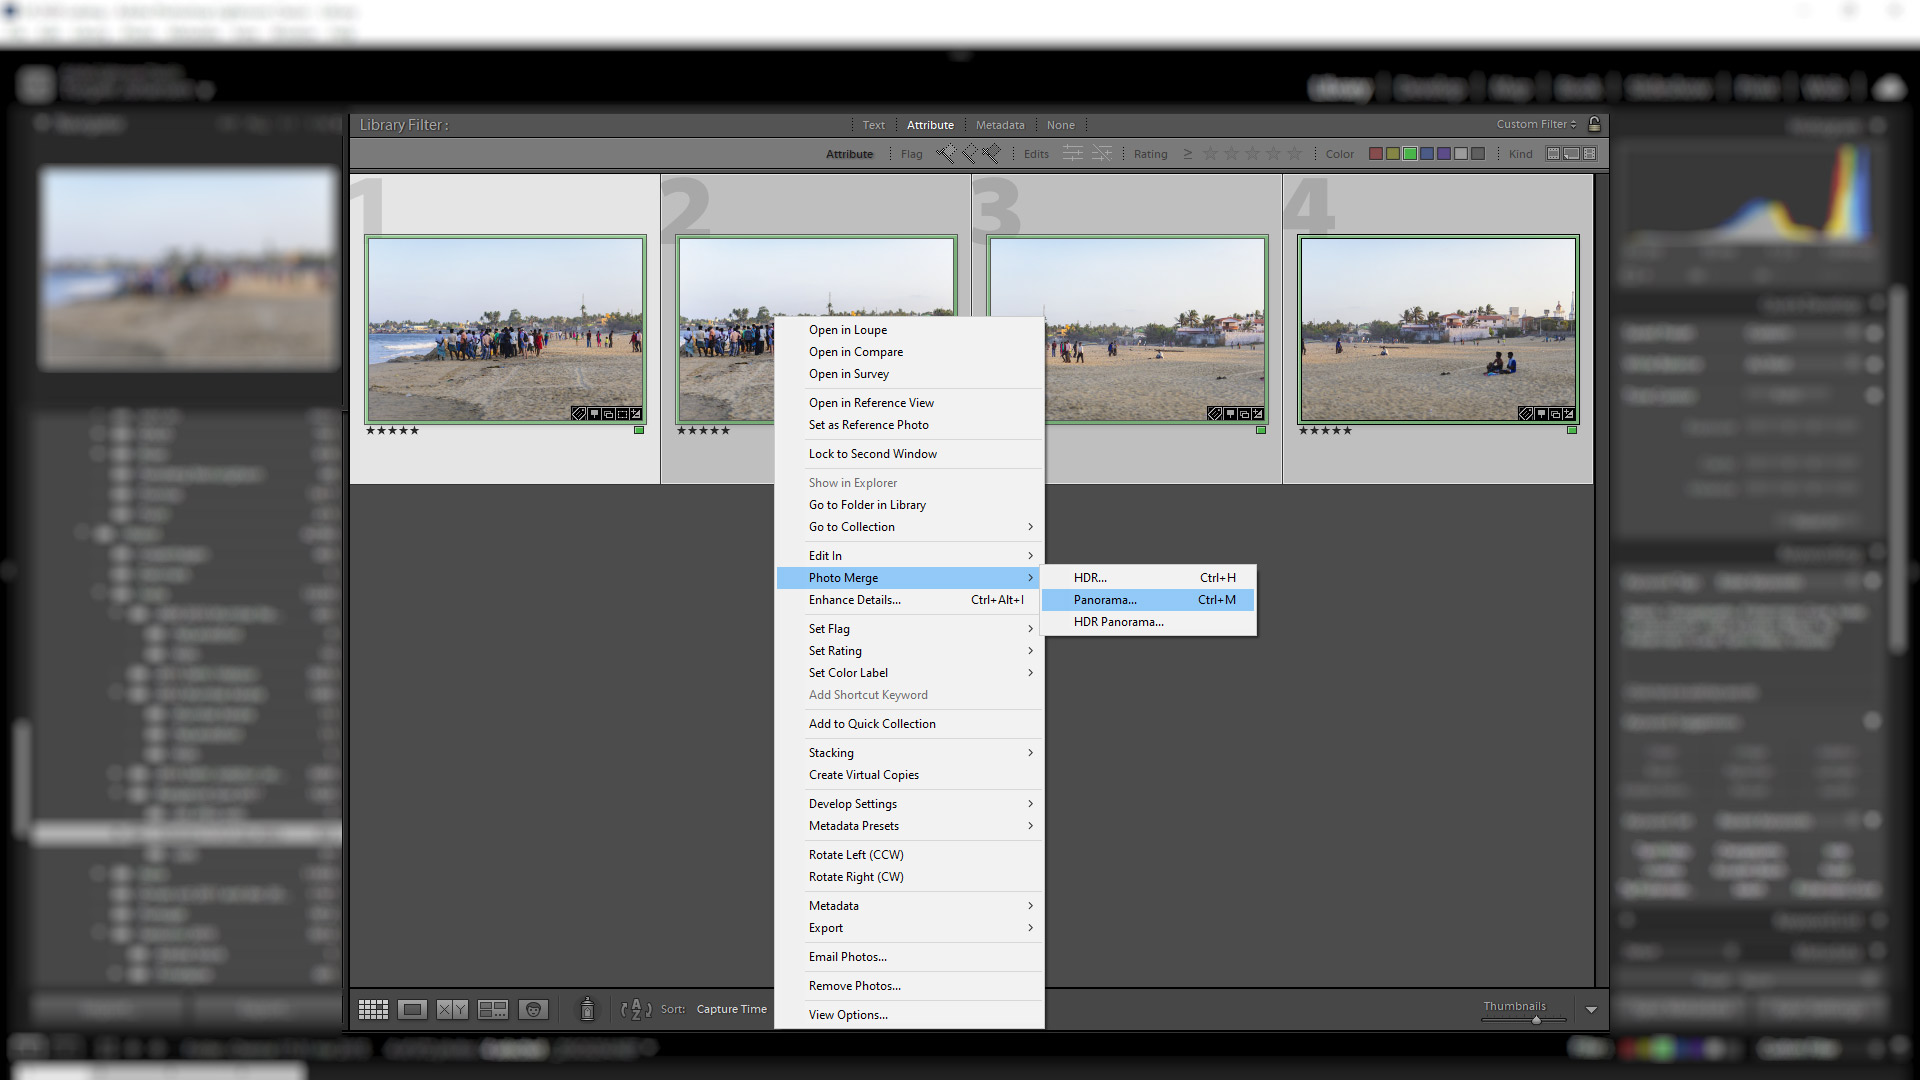
Select images in Lightroom Classic and click Photo Merge>Panorama.
Lightroom Classic Step 2
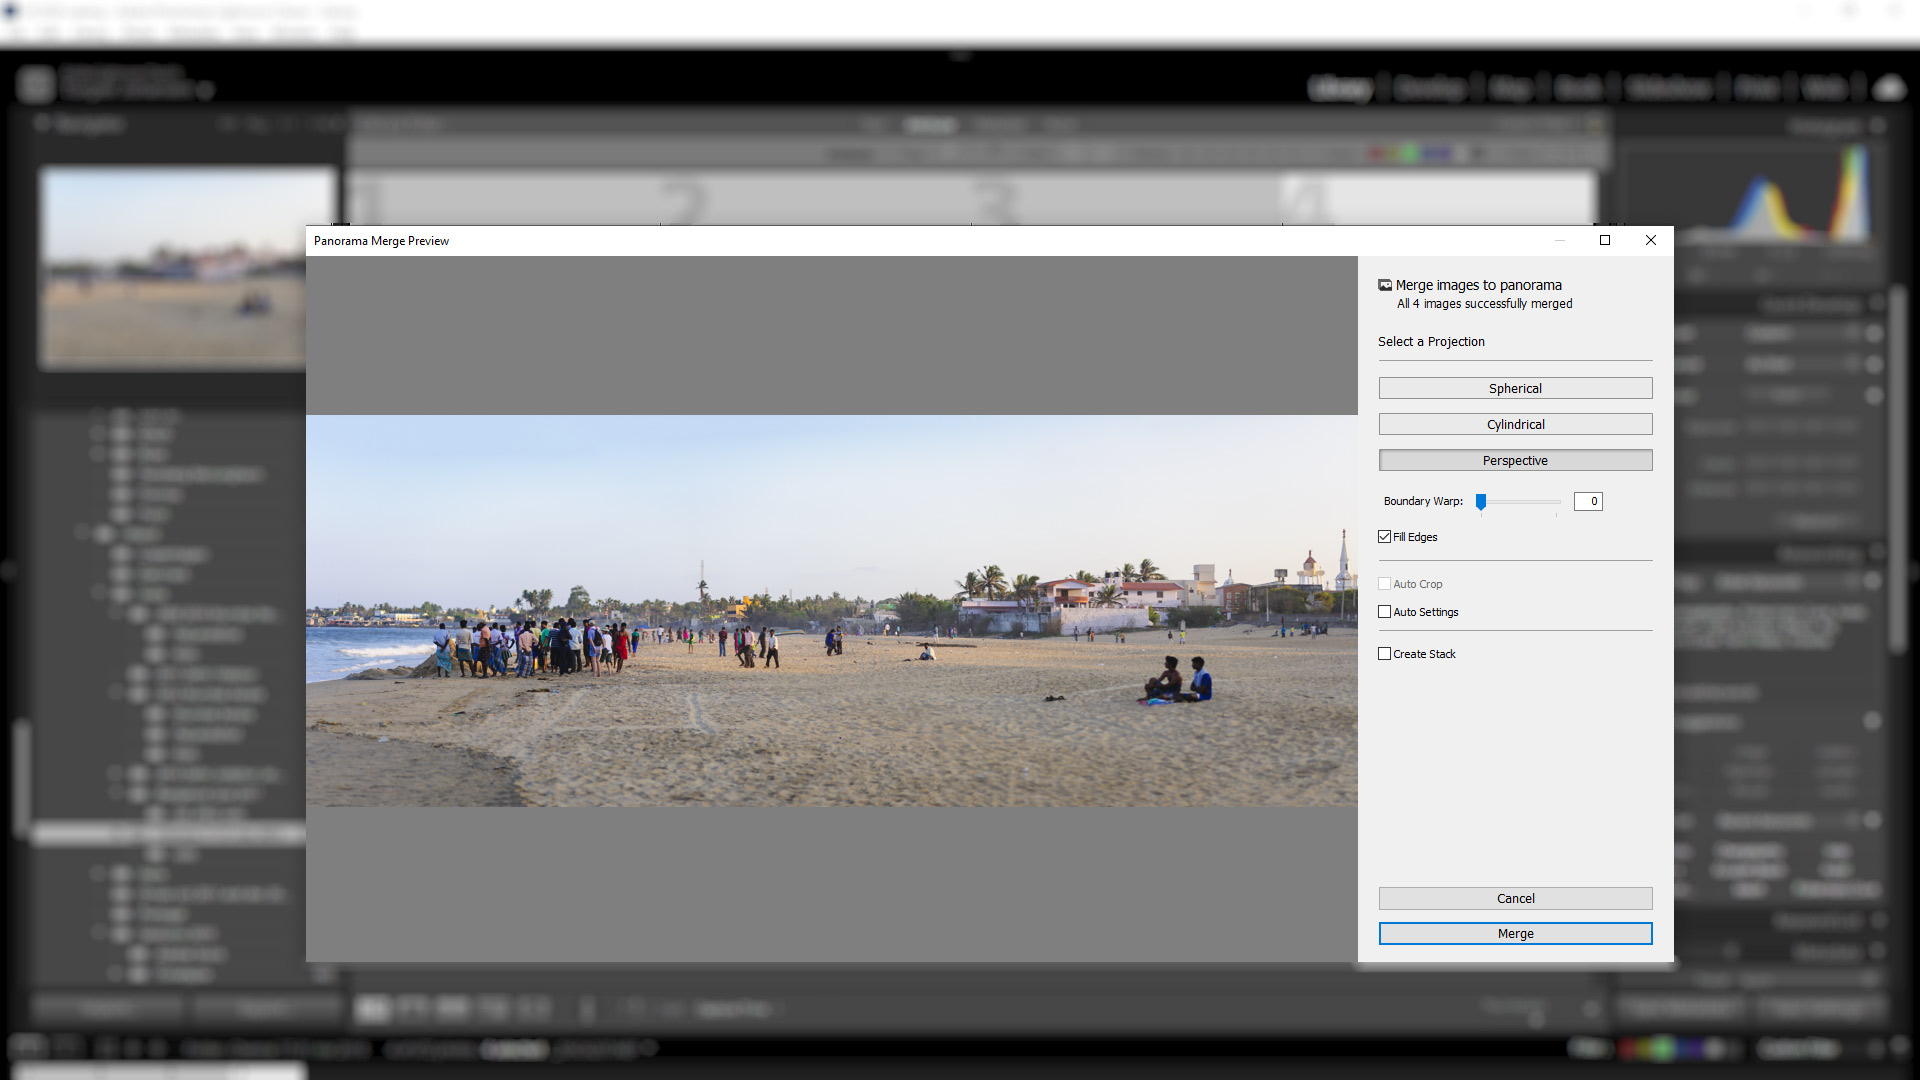
Panorama Merge Preview window opens. Select Perspective Projection and Fill Edges. Click on Merge.
Merged files from Photoshop and Lightroom Classic both measure 8700 pixels wide. Photoshop .psd file at 215 MB. File from Lightroom Classic is a .dng file at 93 MB. Photoshop file with curve adjustment and creati sharpening. Both files shown below is reduced to 1920 pixels wide.




0 Comments